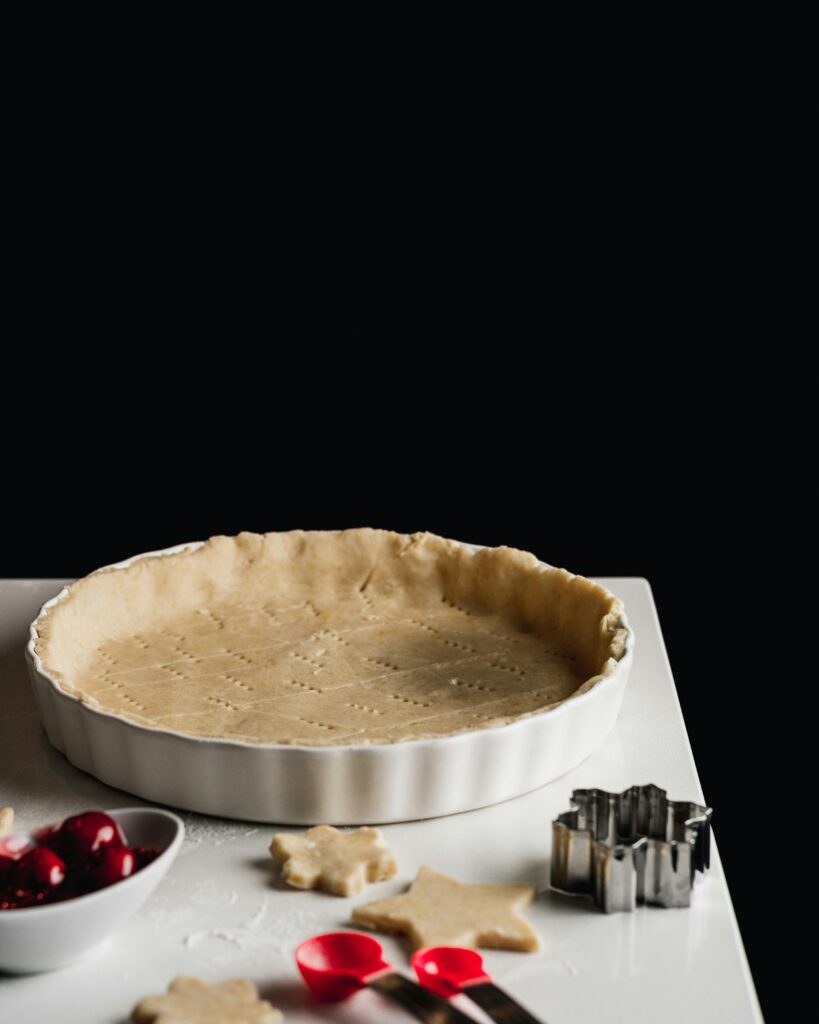
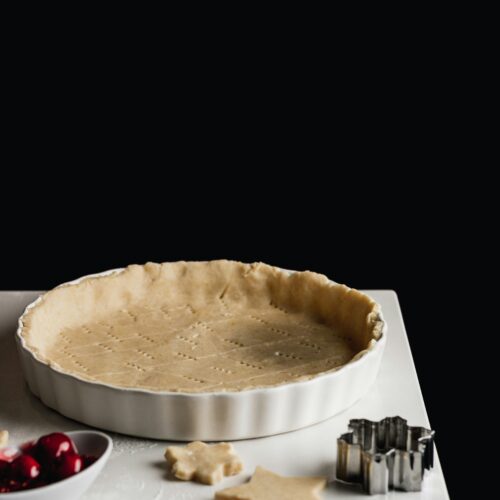
Getting started with the pie crust!
Are you ready to embark on a culinary adventure that will revolutionize your pie-making experience? Crafting the perfect gluten-free pie crust is an art, and we’re here to guide you through each step with a recipe that ensures flakiness and flavor, rivaling its traditional wheat-based counterpart. Grab your apron, gather your ingredients, and let’s delve into the details of creating a gluten-free pie crust that’s a true delight for all occasions.
Why Gluten-Free?
In a world where dietary restrictions are becoming increasingly prevalent, a gluten-free pie crust is more than just an alternative—it’s a game-changer. For those with gluten sensitivities or celiac disease, indulging in a delicious pie without the worry of digestive discomfort is a gift. Moreover, a gluten-free pie crust can appeal to a broader audience, accommodating various dietary preferences and restrictions, making it an inclusive choice for gatherings and celebrations.
The Foundation of Flakiness: Choosing the Right Ingredients
Ingredients Matter
Creating a gluten-free pie crust begins with the careful selection of ingredients. Instead of traditional wheat flour, opt for a high-quality gluten-free flour blend. This blend typically includes a combination of flours like rice, tapioca, and potato starch, replicating the properties of conventional flour that are essential for achieving a flaky crust.
The Role of Starches
Starches play a crucial role in gluten-free baking, contributing to the structure and texture of the crust. Tapioca starch, in particular, is known for its ability to add chewiness and elasticity, creating a more cohesive dough. Experimenting with the ratios of different starches allows you to tailor your crust to your preferences, whether you crave tenderness, flakiness, or a combination of both.
The Fat Factor: Butter vs. Shortening vs. Oil
Choosing the Right Fat
The fat you choose is a key determinant of the flavor and texture of your gluten-free pie crust. Traditional butter offers a rich, savory flavor, while shortening contributes to a tender, melt-in-your-mouth texture. For a healthier twist, consider using coconut oil, adding a subtle tropical nuance to your crust. Experimenting with different fats allows you to customize your crust to suit your taste preferences and dietary requirements.
The Art of Blending Fats
Achieving the perfect balance of fats is crucial for a successful gluten-free pie crust. Combining different fats—such as a blend of butter and shortening—can yield a crust that marries the rich flavor of butter with the tenderness of shortening. Additionally, using a combination of solid and liquid fats helps create a well-structured dough that is both easy to handle and delightful to eat.
Binding Agents: The Glue That Holds It Together

The Role of Eggs
In traditional pie crust recipes, gluten acts as a binding agent. In the absence of gluten, alternative binding agents become essential. Eggs are a classic choice, providing both structure and moisture to the dough. If you’re aiming for an egg-free option, consider using a flaxseed or chia seed “egg” for a similar binding effect. These binding agents ensure your gluten-free crust holds together without compromising on its desired texture.
Perfecting the Technique: Tips for Success
Embracing the Cold
Creating a gluten-free pie crust requires a slightly different approach than its wheat-based counterpart. To achieve that sought-after flakiness, keep your ingredients cold. This helps prevent the fat from melting too quickly during the mixing process, resulting in a crust that is both tender and flaky.
The Power of Rest
Patience is a virtue, especially when it comes to gluten-free baking. Allow your gluten-free pie dough to rest in the refrigerator before rolling it out. This resting period allows the flour to fully absorb the liquid, resulting in a dough that is easier to handle and yields a more tender crust.
Flavor Enhancements: Infusing Extra Deliciousness
Personalizing Your Crust
While the primary focus is on achieving the perfect texture, don’t forget about flavor. Elevate your gluten-free pie crust by incorporating herbs, spices, or even a hint of sugar. Experiment with additions like cinnamon, thyme, or grated cheese to complement the flavors of your filling. This personal touch adds an extra layer of complexity to your crust, making each bite a sensory delight.
Versatility Unleashed: From Pies to Tarts and Beyond
A Crust for Every Occasion
The beauty of a gluten-free pie crust lies in its versatility. Beyond the classic apple pie, use it as a foundation for an array of sweet and savory creations. From quiches and tarts to galettes and pot pies, the possibilities are endless. Let your imagination run wild in the kitchen, knowing that gluten-free doesn’t mean compromising on taste or texture.
Quick and Easy Gluten Free Pie Crust
Ingredients
- 2 ½ cups Cup 4 Cup gluten-free flour
- ½ teaspoon fine sea salt
- 1 tablespoon sugar
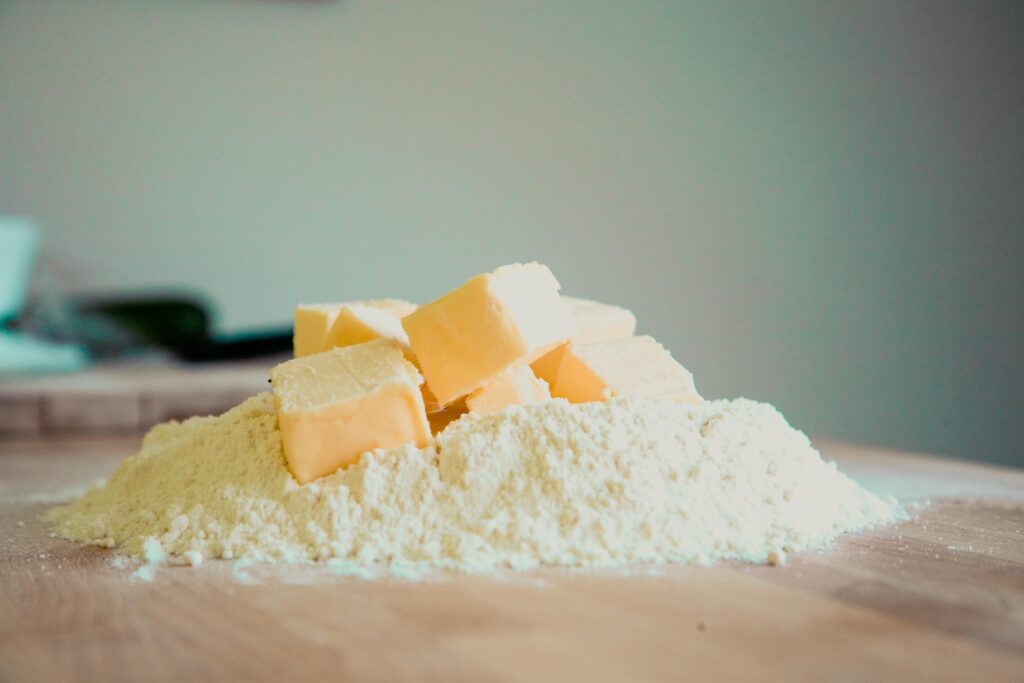
- 2 sticks butter 8 ounces unsalted, good quality butter, cubed
- 1 teaspoon apple cider vinegar
- ⅓ – ½ cup cold water
Instructions
- Combine the gluten-free flour, sea salt, and optional sugar in a food processor and pulse until thoroughly mixed. Sprinkle the cold butter evenly over the flour mixture in the food processor and pulse until the mixture achieves a crumbly texture with noticeable pea-sized butter chunks, crucial for a flaky crust. Drizzle apple cider vinegar over the mixture to enhance flavor.
- Turn on the food processor and immediately start drizzling cold water through the feed tube. Halt the machine once the mixture begins to come together and looks shaggy. Test the dough by pinching it—if it sticks together, it’s ready. If not, turn the machine on again and add a bit more water; the goal is a shaggy dough, not a cohesive ball.
- Transfer the dough to a lightly floured surface, shaping it into a ball. Divide the dough into two equal pieces, forming each into a flat disk. Wrap these disks in plastic wrap and refrigerate for at least 30 minutes or up to 2 days. Note that you can freeze the wrapped disks in zip-top freezer bags for up to 3 months, thawing them in the refrigerator overnight before use.
- If the dough has chilled for an extended period, let it sit at room temperature for 10-20 minutes until slightly softened. Roll it out on a parchment paper surface lightly dusted with flour. If the dough cracks upon rolling, give it a few more minutes to warm up. Patch any edges that crack during rolling.
- For a Single Crust Pie, preheat the oven to 400˚F. Transfer the rolled-out dough to a 9-inch pie plate, ensuring it covers the corners. Trim the dough to a ½-inch overhang using kitchen scissors. Fold the overhang under to form a ring around the pie plate, crimping it if desired. If the dough feels soft, refrigerate or freeze the pie plate briefly to firm it up. Prick the bottom with a fork, line the crust with parchment paper, and fill it with dried beans or pie weights. Bake for 15 minutes, remove the parchment and beans, and bake an additional 5 minutes or until lightly golden.
- For a Double Crust Pie, preheat the oven to 400˚F. Roll out one dough disk and transfer it to a 9-inch pie plate. Add your fruit filling and dot with butter. Roll out the second piece of dough and lay it over the filling. Trim the dough to a ½-inch overhang using kitchen scissors. Roll the overhang under, pinching the top and bottom dough together to form a ring around the pie plate. Crimp the ring if desired. If the dough feels soft, briefly refrigerate or freeze the pie to firm it up. Brush the top dough with an egg wash, sprinkle with sugar, cut a few vents, and bake for 35 minutes. Reduce the oven temperature to 350˚F and bake for an additional 15-30 minutes or until the fruit is tender. Tent the top crust or edges if they start to brown too much.
Notes
Crafting Memories, One Flaky Slice at a Time
With the right ingredients, precise technique, and a touch of creativity, crafting the perfect gluten-free pie crust is an attainable and rewarding endeavor. This recipe not only caters to gluten sensitivities but elevates your baking experience, ensuring a flaky, flavorful crust that will leave everyone reaching for seconds. So, roll up your sleeves, dive into the world of gluten-free baking, and create lasting memories—one flaky slice at a time. Your gluten-free pie crust journey begins here!