
The holiday season is upon us, and it’s the perfect time to indulge in delightful treats that warm the heart and bring smiles to faces. What better way to spread some holiday cheer than with a homemade Christmas fudge recipe that’s both easy to make and simply scrumptious? Whether you’re gifting it to loved ones, hosting a festive gathering, or just enjoying it by the cozy fire, this Christmas fudge will quickly become a festive favorite
The Joy of Homemade Treats
There’s something truly special about homemade gifts during the holidays. The time and effort put into creating something from scratch, infused with love and care, make the treats all the more memorable. This Christmas fudge recipe is a perfect example of such a delightful homemade gift.
The Magical Process
Now, let’s get into the step-by-step process of creating this Christmas fudge. The process is simple, and the result is a creamy, chocolatey delight that will have everyone coming back for seconds.
Step 1: Prepare Your Baking Dish
Start by buttering an 8×8-inch baking dish or spray it with nonstick cooking spray. This ensures that your fudge won’t stick and will be easy to cut into perfect squares once it’s ready.
Step 2: Cooking the Magic
In a medium-sized pot, combine the sugar, milk, and butter. Place it over medium-low heat and watch as the mixture begins to come to a gentle boil. Make sure to stir frequently; this step is all about infusing love and care into your fudge. As you stir, you’ll notice the sugar dissolving and the mixture becoming velvety.
Step 3: The Boiling Point
Once your mixture has reached the boiling point, let it continue to boil for 5 minutes. This is where the magic happens. Stir constantly; we mean it. Constant stirring is essential to prevent scorching. If you find the heat too high, adjust it slightly to maintain a boil without scorching. Our goal here is to reach the soft ball temperature of 235°F. If you have a candy thermometer, it’s a useful tool, but don’t worry if you don’t; you can rely on your cooking instincts. You’ll know it’s ready when the mixture thickens and becomes syrupy.
Step 4: The Sweet Medley
Now, remove the pot from the heat and stir in the chocolate chips and marshmallow creme. Keep stirring until the mixture becomes creamy and smooth. This is where the real transformation takes place, and your fudge comes to life. The chocolate chips melt into a luscious pool of cocoa, and the marshmallow creme adds that dreamy fluffiness.
If you want to take your fudge to the next level, consider adding a teaspoon of pure vanilla extract. It’ll enhance the flavor and add a warm, aromatic note to your fudge.
Now, add the chopped nuts, reserving a few to sprinkle on the top later, and mix everything together. The nuts not only add a delightful crunch but also a rich, nutty flavor that complements the sweetness of the fudge. They’re optional, but we highly recommend them.
Step 5: Shaping the Magic
Pour your fudge mixture into the prepared baking dish. As you pour, you’ll notice how velvety and glossy the fudge looks. It’s like a chocolate dream taking shape right before your eyes. Use a spatula to even out the top, ensuring that your fudge is perfectly shaped and ready for its final transformation.
Step 6: The Final Touch
Now, let your fudge cool completely. The anticipation builds as you see your creation taking shape. The cooling process allows the fudge to set, achieving that perfect, slightly firm yet melt-in-your-mouth texture that we all love.
Once your fudge is fully cooled and set, it’s time to cut it into whatever shape your heart desires. The reserved nuts can be sprinkled on top, adding a beautiful and delicious finishing touch. You can cut your fudge into classic squares or experiment with cookie cutters for festive shapes. It’s your creation, so let your creativity shine.
Toasted Nuts for Extra Flavor

For an extra layer of flavor and depth, consider toasting the nuts on the stovetop or in the oven before adding them to the fudge. This simple step can elevate your Christmas fudge to a whole new level. Toasting the nuts brings out their natural oils and intensifies their flavor, making them a delightful contrast to the sweet and creamy fudge.
Packaging and Gifting
One of the joys of making homemade treats like this Christmas fudge is the opportunity to share them with loved ones. Consider packaging your fudge in festive containers, such as holiday-themed tin boxes, clear cellophane bags tied with colorful ribbons, or mason jars adorned with holiday tags. Homemade fudge makes a perfect gift for friends, family, coworkers, and neighbors. It’s a thoughtful and delicious way to spread holiday cheer.
Variations and Creative Twists
While this classic Christmas fudge recipe is a crowd-pleaser, there’s no shortage of creative twists you can explore. Here are a few ideas to inspire your fudge-making adventures:
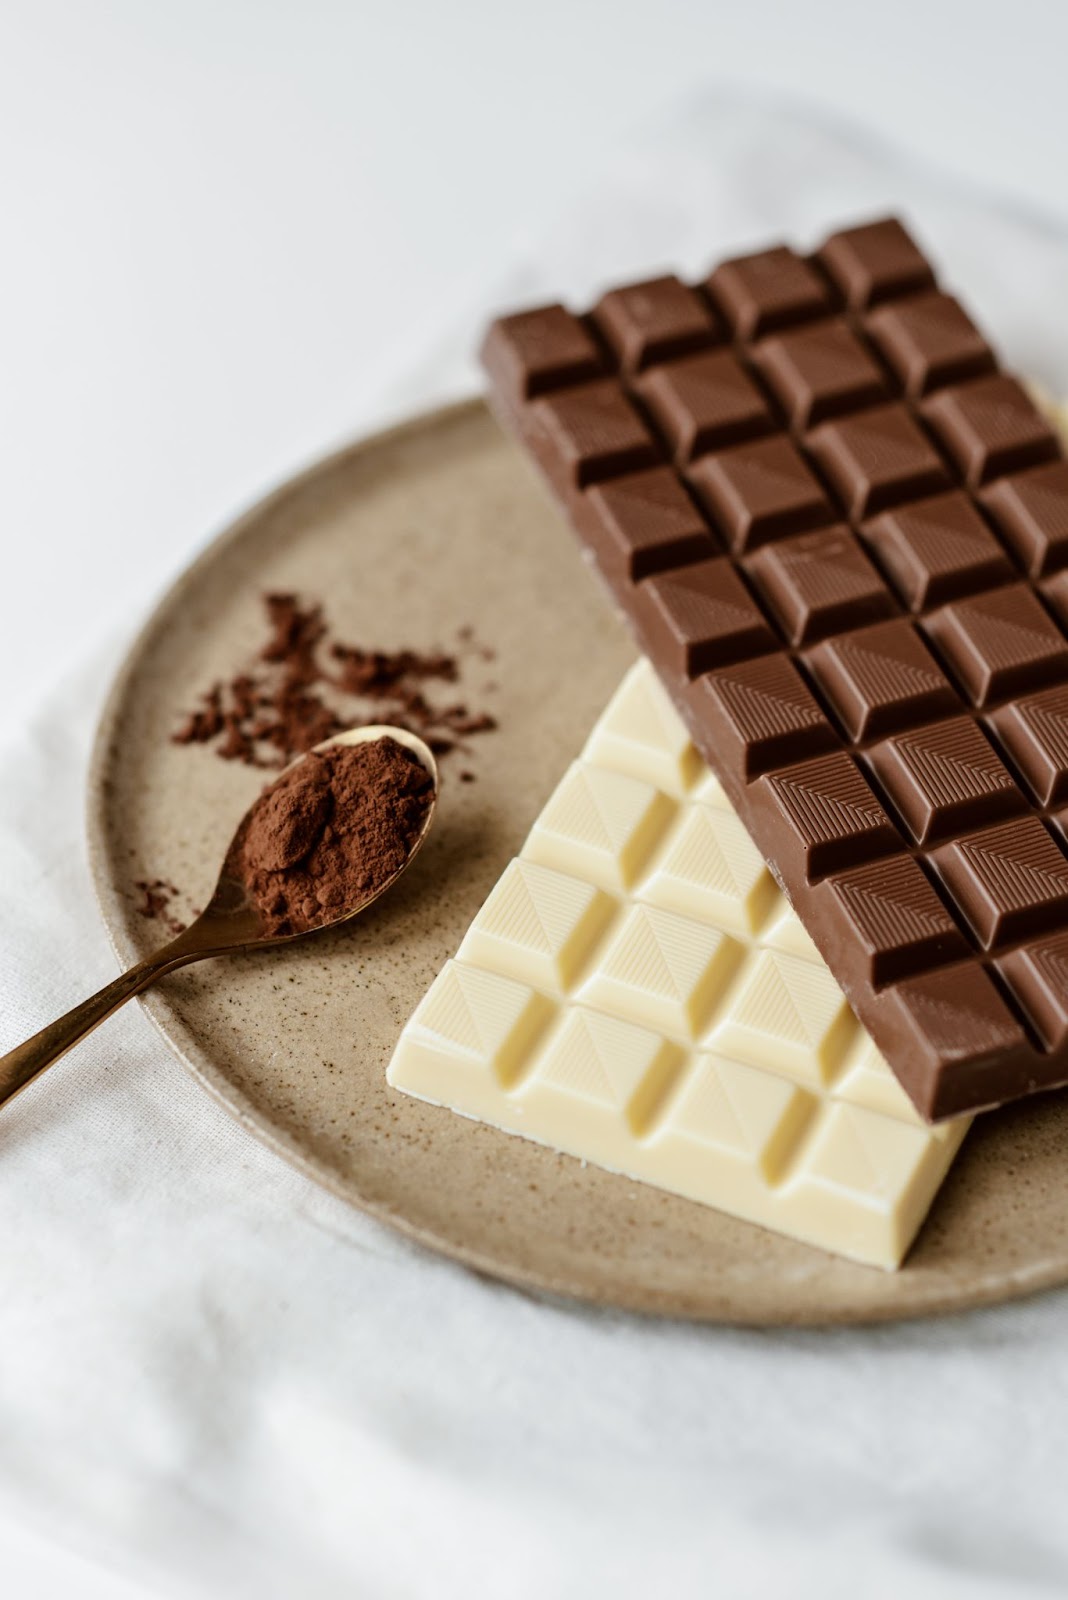
White Chocolate Peppermint Fudge
Substitute white chocolate chips for the semi-sweet ones.
Add a teaspoon of peppermint extract for that festive and refreshing flavor.
Crush candy canes and sprinkle them on top before the fudge sets.
Nutty and Nice
Experiment with different nuts like walnuts, almonds, or macadamia nuts for a unique twist.
Consider adding a pinch of sea salt to enhance the nutty flavor.
Tantalizing Toppings
After pouring the fudge into the dish, get creative with your toppings. Sprinkle coconut flakes, crushed pretzels, or even edible glitter for a dazzling effect.
Festive Flavors
Try incorporating seasonal spices like cinnamon, nutmeg, or ginger for a holiday spice fudge.
Remember, the beauty of making your fudge is that you can customize it to suit your taste and the preferences of those you’re sharing it with.
Homemade Christmas Fudge recipe
Ingredients
- 3 cups of sugar
- 1 5-ounce can of evaporated milk
- 3/4 cup of butter
- 1 7-ounce jar of marshmallow creme
- 1 12-ounce package of semi-sweet chocolate chips
- 1 cup of chopped nuts optional, but we like pecans
Instructions
Step 1: Prepare Your Baking Dish
- Grease an 8×8-inch baking dish with butter or use nonstick cooking spray to ensure easy removal of the fudge.
Step 2: Cooking the Magic
- In a medium-sized pot, combine sugar, milk, and butter. Place it over medium-low heat, stirring frequently. The mixture will become velvety as the sugar dissolves.
Step 3: The Boiling Point
- Once the mixture boils, stir constantly for 5 minutes. Adjust heat to prevent scorching. Aim for a soft ball temperature of 235°F; the mixture will thicken and become syrupy.
Step 4: The Sweet Medley
- Remove from heat and stir in chocolate chips and marshmallow creme until creamy. Consider adding vanilla extract for extra flavor. Mix in chopped nuts, reserving some for later.
Step 5: Shaping the Magic
- Pour the mixture into the prepared dish. Use a spatula to even out the top for a perfectly shaped fudge.
Step 6: The Final Touch
- Let the fudge cool completely to set. Once set, cut into desired shapes. Sprinkle reserved nuts on top for a finishing touch. Get creative with shapes or stick to classic squares. Enjoy your homemade chocolate fudge!
Wrapping Up
Creating this homemade Christmas fudge is not just about making a delicious treat; it’s about crafting cherished memories. The process is simple, and the result is a creamy, chocolatey delight that will have everyone coming back for seconds. Whether you’re sharing it with friends and family, hosting a festive gathering, or indulging in a quiet moment of self-care, this fudge is sure to put you in the holiday spirit.
This holiday season, take the time to create something special and share the joy of homemade treats with those you love. From the simple pleasure of stirring the bubbling mixture to the sweet anticipation as the fudge cools and takes shape, making this Christmas fudge is a heartwarming experience.
So, gather your ingredients, clear your schedule, and get ready to create a festive delight that’s as much about the journey as it is about the destination. Enjoy the sweet tastes and warm memories it brings to your festive celebrations.
Happy holidays and happy fudge-making!